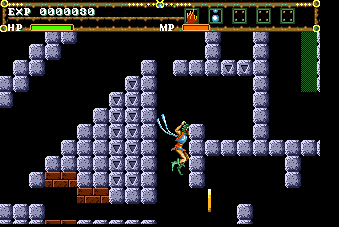
The test level -also known as stage 0 -was discovered by M.I.J.E.T. in 2010. The test level is an unused map in the game that cannot be accessed by normal means. It's quite a challenging stage, featuring lots of various obstacles and traps that you must try to get through and make it to the goal. You will start the stage with a small amount of HP and only the fireball spell. It's possible to gain more spells by collecting coins you'll come across, and there are also a few medicine jars available. |
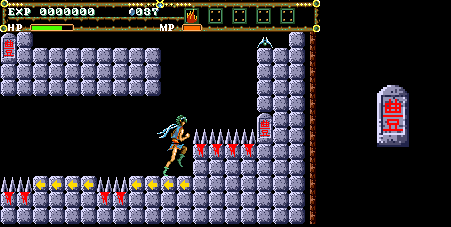
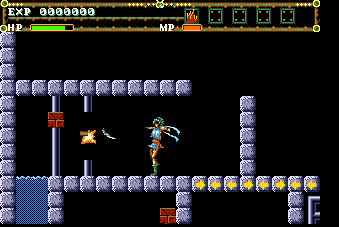
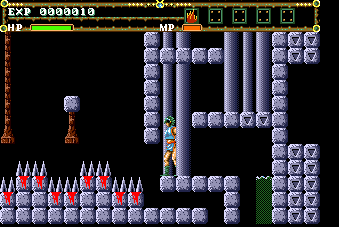
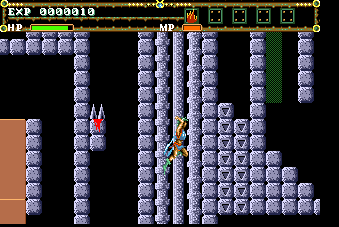
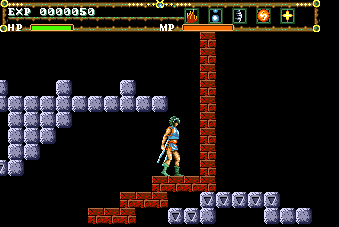
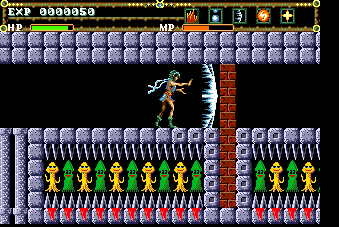
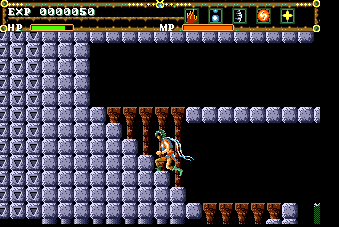
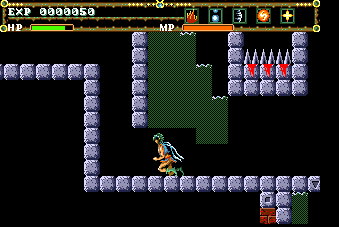
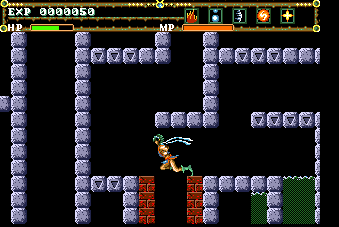
When the level starts, move right and collect the blue crystal. You'll see parts of the floor have arrows on them, standing on these will move Annet automatically in the direction they are pointing. Dash under the first set of spikes that you see, and drop down. You'll land on a bunch of arrow blocks that take you left, dash across them to avoid falling into the spikes they lead to. |
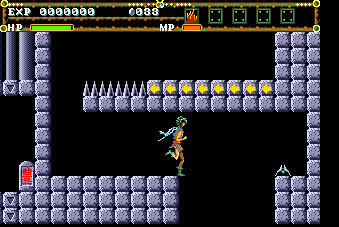
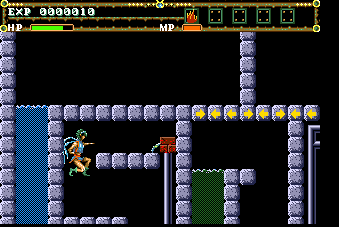
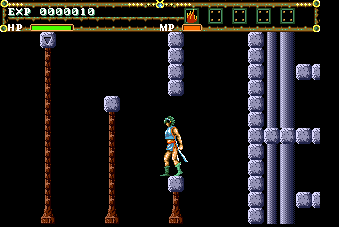
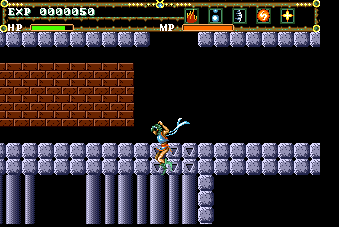
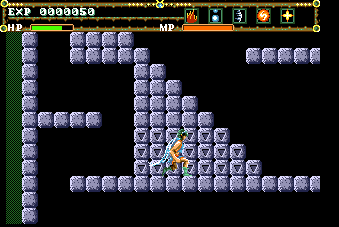
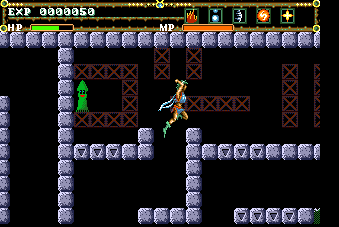
Drop down and head right, you'll see an extra boomerang you can collect if you want (you don't really need it here though). Drop down and go left, there are a few spike pits here, along with more arrow blocks. Once you see some water, you'll need to carefully jump up a few platforms. There are some new blocks here that you'll fall through if you land on them -they have gray arrows on them that point down. |


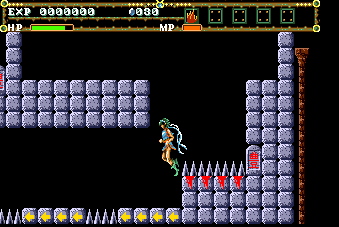
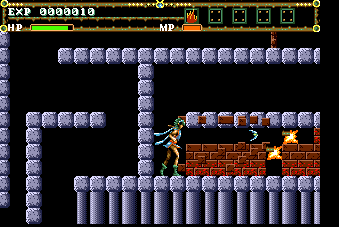
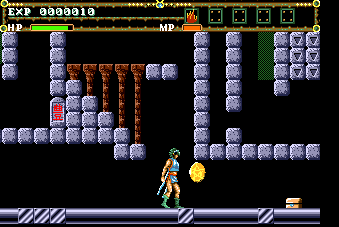
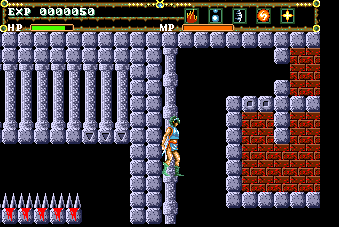
When you've reached the top of these platforms, head left and you'll have to drop down a long distance. When you land, head right and throw boomerangs at the bricks to destroy them, which will also destroy the pipes that they're connected to. This will destroy some of the floor, letting you head down and to the left, where you'll need to destroy some more bricks. |


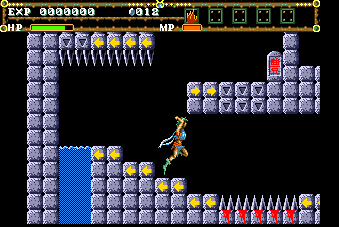
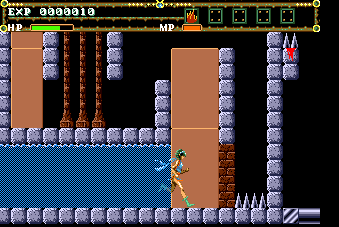
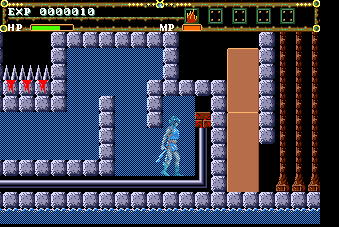
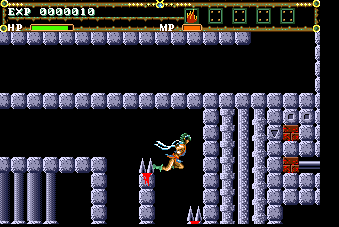
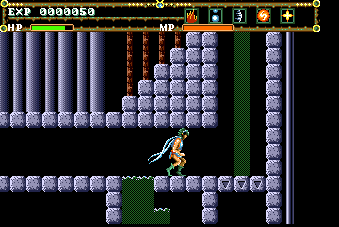
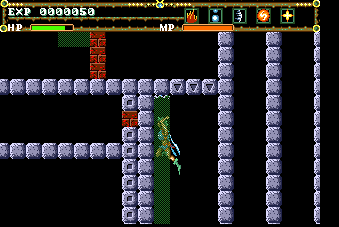
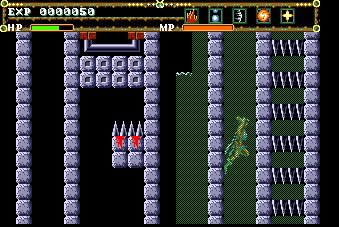
Head into the water and drop all the way down, then head right. You'll see a gray, spiky square above, touching this will deplete your HP rapidly, so carefully jump up and throw a boomerang or use the fireball spell to blow it up. Once you've gotten rid of the square, head up and destroy the brick you can see, doing this will clear a pipe that was in the way. Head back down and then move into the green water, you'll be sent straight up. |

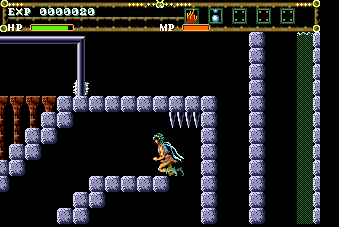
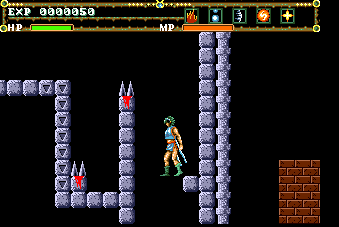
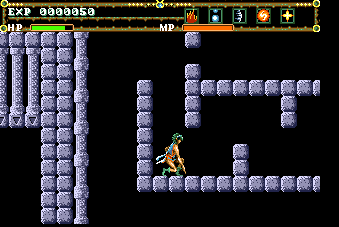
One you get to the top, jump out of the green water and head right. You'll have to drop down here, carefully move left and then quickly right to avoid two small sets of spikes. Once you land, move right and you'll have to slowly move through some blue water, then you'll see two orange rectangles. These act as platforms, jump onto the first one, then jump again but hold left as you do. Drop down and head left to find more rectangles, use these to jump up and head left. |

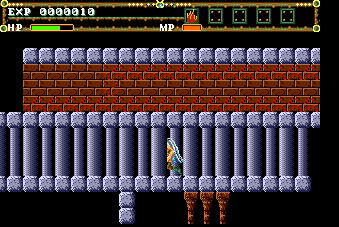
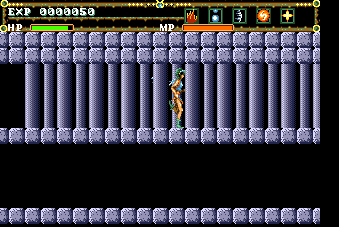
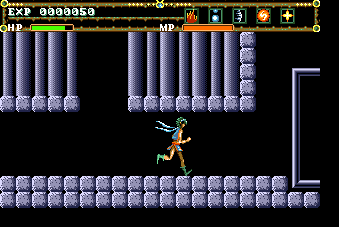
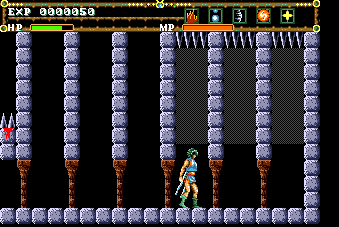
Dash over the spike pit and head into the water. Move to the right and you'll see another brick, destroy this to clear away another pipe. Head back the way you came and get to the first set of orange rectangles you came across. This time jump to the right, and dash across the gap. Move right and jump up, then head left and dash past some pillars. |


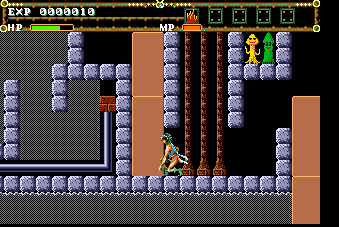
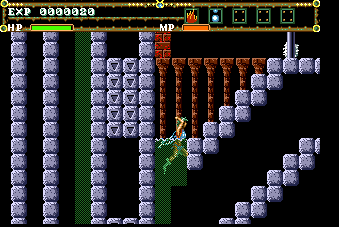
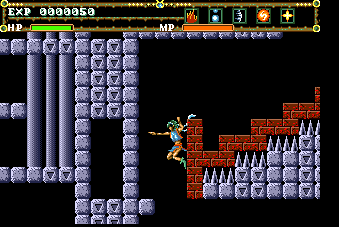
When you clear the pillars, jump up and head right. There are a load of bricks you can destroy here, get rid of them all to reveal a few medicine jars. Head to the middle to find a gray pillar that has a few small platforms on it, use these to get higher and then use the brown platforms to the left to progress. You'll then come across three sets of spikes, with a warning message in the background -"PERIL"! Move right to see a row of explosive bricks. |

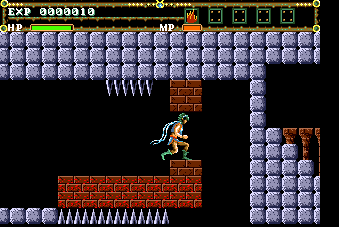

Once you've destroyed the bricks, you have a choice, you can either wait and destroy the spiky squares the drop down, or you can try and use the dash to run past them. Either way move right and you'll see more bricks. Don't attack the explosive ones, just go for the brown ones as you can clear a path you can get through and drop down. Hold right to avoid touching the spikes on the way. |

Once you land, destroy the explosive brick to get rid of a longer pipe, then jump into the green water to be carried up. When you get out of the water, you'll have to jump up a few platforms, then drop down again. When you drop, hold left to land on a small platform. |


Jump left and land on another platform. There are some more platforms, but you'll fall straight through these if you land on them. Instead, destroy the explosive bricks you can see to clear some room, then jump to the left and fall down. Head left, then when you get to the end, fall down and you'll see another bunch of bricks you'll need to destroy. Once these are gone, move right. |
You'll see two drops, take the one on the right (the one on the left leads to a spike pit) and fall down another gap. Hold left and then right to avoid the spikes on the way. When you land, head a little to the right and then jump up -there is a hidden passage you can actually jump up, get to the top and destroy the explosive brick to get rid of another pipe. Head back down and then head right, you'll be able to move to the right now that the pipe is gone. You'll see a spinning coin you can collect, get this and you'll receive the water current spell. Keep moving right. |

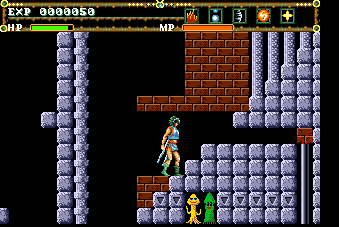
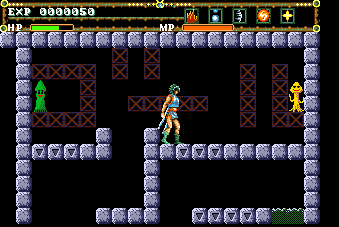
You'll see some bricks along with some friendly-looking sea creatures, all of which you can destroy. Head up the steps, but watch out of the square on the way. When you get to the top, jump up to the left and then immediately hold down to avoid hitting the spikes on the ceiling. Head down the next set of steps and you'll see some more green water, jump into this and head up. Destroy the explosive bricks and watch out for another square up there. |
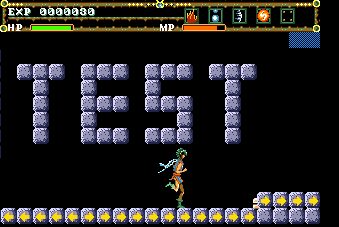

Destroy the square, head right and then drop down. You'll fall through a couple of blocks, when you land, head left and go down another short drop, then head right. You'll collect another coin here, which will give you the wind cutter spell. Move right and you'll find another coin under the word "TEST". Collecting this will give you the explosion spell. This is optional, but if you keep going right, you'll find the last coin in the level. Collecting this will give you the arrow spell. There is a load of blue jelly here you can jump into (keep jumping to stay in it) but there isn't much else you can do here. Head left and go back under the test message. |
Jump up the gap, then head into the green water to be sent up. Head left and you'll see a single explosive brick along with a large group of them. Destroy the single brick, you'll need to do this to give you room to jump from the block. Land on the explosive bricks and move to the right. You'll come across a wall, what you need to do here is throw a boomerang and then immediately jump to the right. When you destroy the blocks, they will clear out of the way as you jump, allowing you to safely land on some blocks that you won't fall through. Head down the steps. |
When you reach the end of the steps, head a little to the right and jump up a couple of times. Jump over the two spikes you can see and land in the pit, next to the other spikes. Jump over these and head left, when you get to the end, jump up and then head right, you'll go past another set of pillars. When you get past those, drop down and destroy all of the bricks and sea creatures you can see. You need to do this now, as if you don't some pipes will block your progress later. Once you've destroyed all of these, head back up and then go right. |


You'll come across another lot of explosive bricks, destroy these and you'll have to drop down between a load of spikes, then jump back out and keep going right. There is another spike pit here that you'll have to take some damage from, jump out to the right and dash across the false blocks. Keep going right and head past another group of pillars. Once you get to the end of these there are some false blocks you can fall through, drop down through these and you'll land near a load of bricks. Destroy all of these and then head left. |

You'll see some more bricks, ignore these and instead drop down through the false blocks. You'll land next to some pillars, head a little to the left and drop down the gap. Move right and jump up onto a pipe, go right and you'll have to go over some blocks. Drop down and then head left to find another explosive brick, destroy this to get rid of the pipe. With this out of the way, head to the right and drop down. |
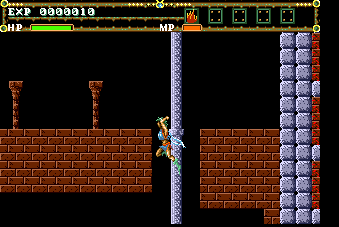
Head all the way to the right and go into the green water. This will take upwards, once you get to the top jump out and go left, up some steps. Move right, jump up and then move left. You'll come to a pillar you can jump up, go up it and then destroy the explosive bricks you can see. Destroying these will destroy some other blocks, letting you jump across... |
...and drop down into where the explosive bricks were. Navigate through these blocks, and then drop down the gap. You'll end up falling through some false blocks, go straight into the green water when this happens to stop yourself from falling into some spikes. To get out of there, you need to fall out of the water, then quickly go back in and time a jump so you'll go through the false blocks, then head left. Once you do this, destroy the explosive bricks and move left. Ignore the green water you can see and go past it, then jump up the gap and head left. |


You'll see some explosive bricks, I don't think you need to blow these up but you can if you want to. You will have to drop down through the spikes you can see here, so you'll have to take a little damage in the process. When you land, move into the green water to be carried up, then drop down and head through the false blocks you can see. |

Once you get past the false blocks, jump up to the right and destroy the single explosive brick up there. Go back through the false blocks, drop down and then head to the right. You'll come across three lots of green water.The left lot leads to a dead end (you can drop back down), the middle one is the one you want to jump up, and the one on the right one is the deadliest -it will send Annet through several sets of spikes, however if you've got enough HP she will survive. |
When you get out of the water, dash over to the left and watch out for the false blocks. Jump up and congratulations -you've finished the test level! There's nothing else you can do now other than reset the game. |
NOTES
-If you have a Game Genie, you can access the test level in the Japanese version of El Viento with the following code: AB9A-AAH6. When you start the game, you'll start in the test level. This code doesn't seem to work in the American version however -when I tried on both the real hardware and an emulator, I got a red screen of death. Perhaps the test level was removed from the American version of the game? Thanks to The Cutting Room Floor for the Game Genie code. If you don't have a Game Genie, then try getting the El Viento enhancement ROM hack. Created by M.I.J.E.T., this hack will let you start in the test level by highlighting the start game option, holding down the A, B and C buttons, then pressing start.
There are a few grave markers (that you can destroy) in the test level that have some red text on them, which translates to "Hiroshi". According to the credits, Hiroshi Izumino was the game's assistant programmer. |
![]()